

- Published on
อัปโหลดและใช้งานรูปภาพบน Cloud ง่ายๆและฟรีด้วย Vercel Blob
Vercel Blob
Vercel Blob เป็นการให้บริการเช่าพื้นที่จัดเก็บไฟล์ต่างๆ ผ่าน Cloudflare R2 ซึ่งตอนนี้ยังเป็นแค่ตัว Beta แต่ล่ะไฟล์จะมี URL หลังจากอัปโหลดไปแล้ว เพื่อให้ง่ายต่อการเข้าถึงและนำไปใช้งาน สามารถจัดการกับไฟล์ตั้งแต่ put(อัปโหลด), del(ลบไฟล์), head(ดูข้อมูลไฟล์), list(ดูรายการทั้งหมดใน Blob store) และอื่นๆ ศึกษาเพิ่มเติมได้ที่ Vercel Blob SDK
Prerequisites
- Install npm package:
npm i @vercel/blob
- สร้าง Blob store ในโปรเจค ต้องมีโปรเจคใน Vercel ก่อน เมื่อเลือกโปรเจคที่ต้องการแล้ว เข้าไปที่ Storage tab แล้วเลือก Create ในหัวข้อ Blob ตั้งชื่อให้เรียบร้อย

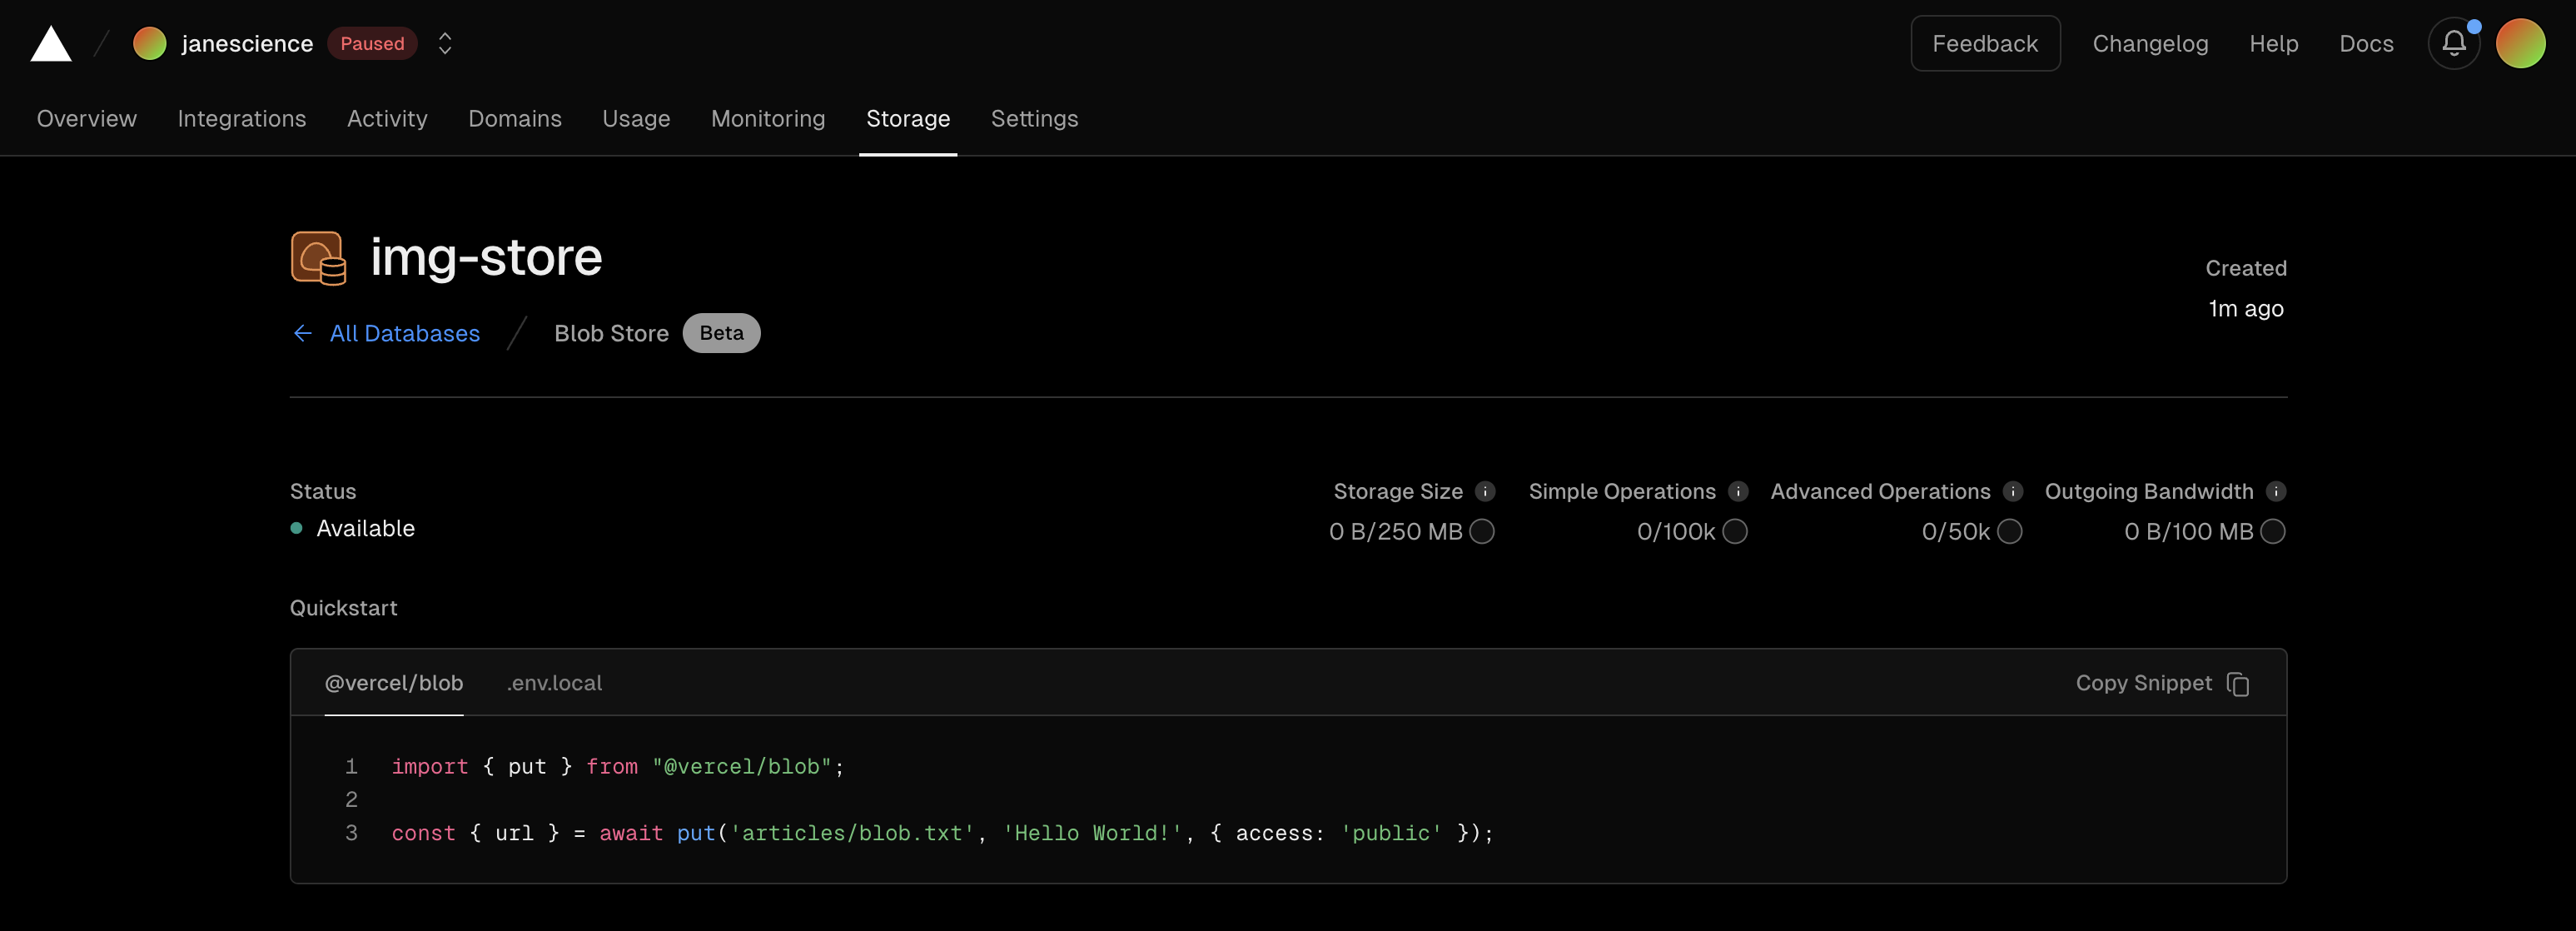
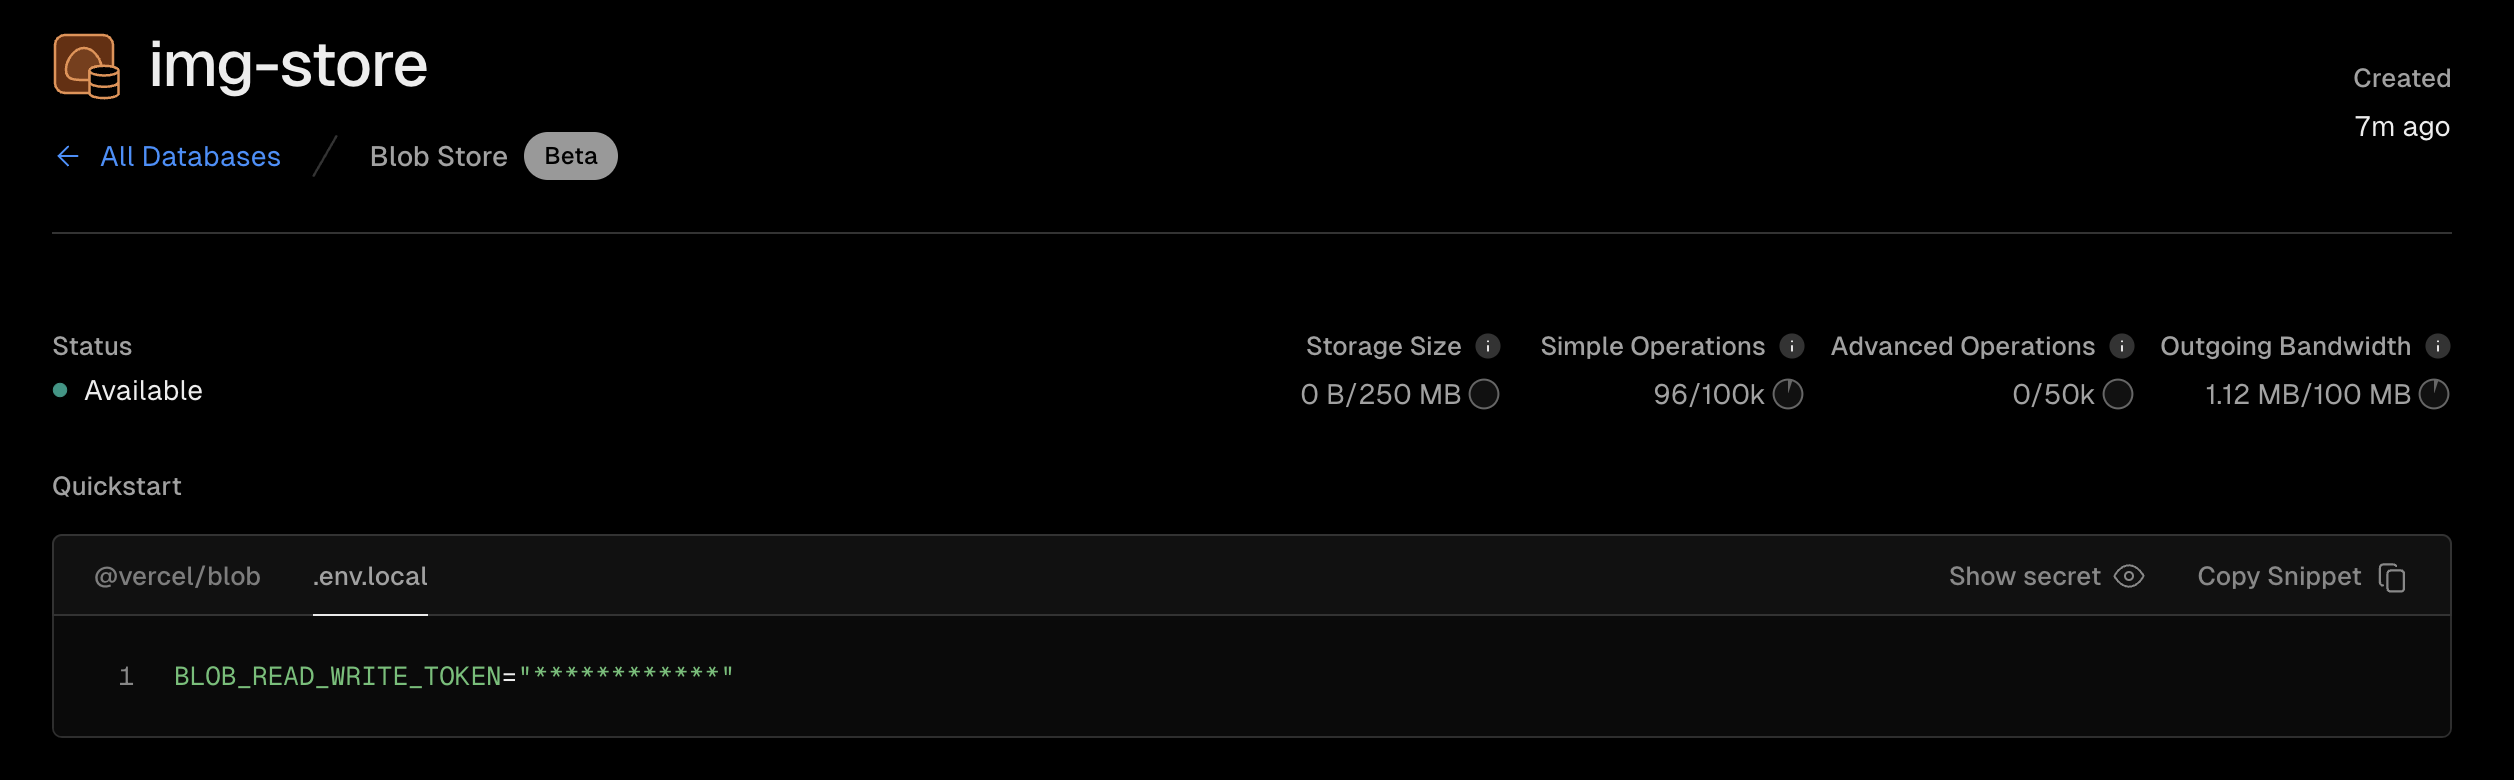
- เพิ่มตัวแปร
BLOB_READ_WRITE_TOKENใน Local project เอาไปใส่ใน.env

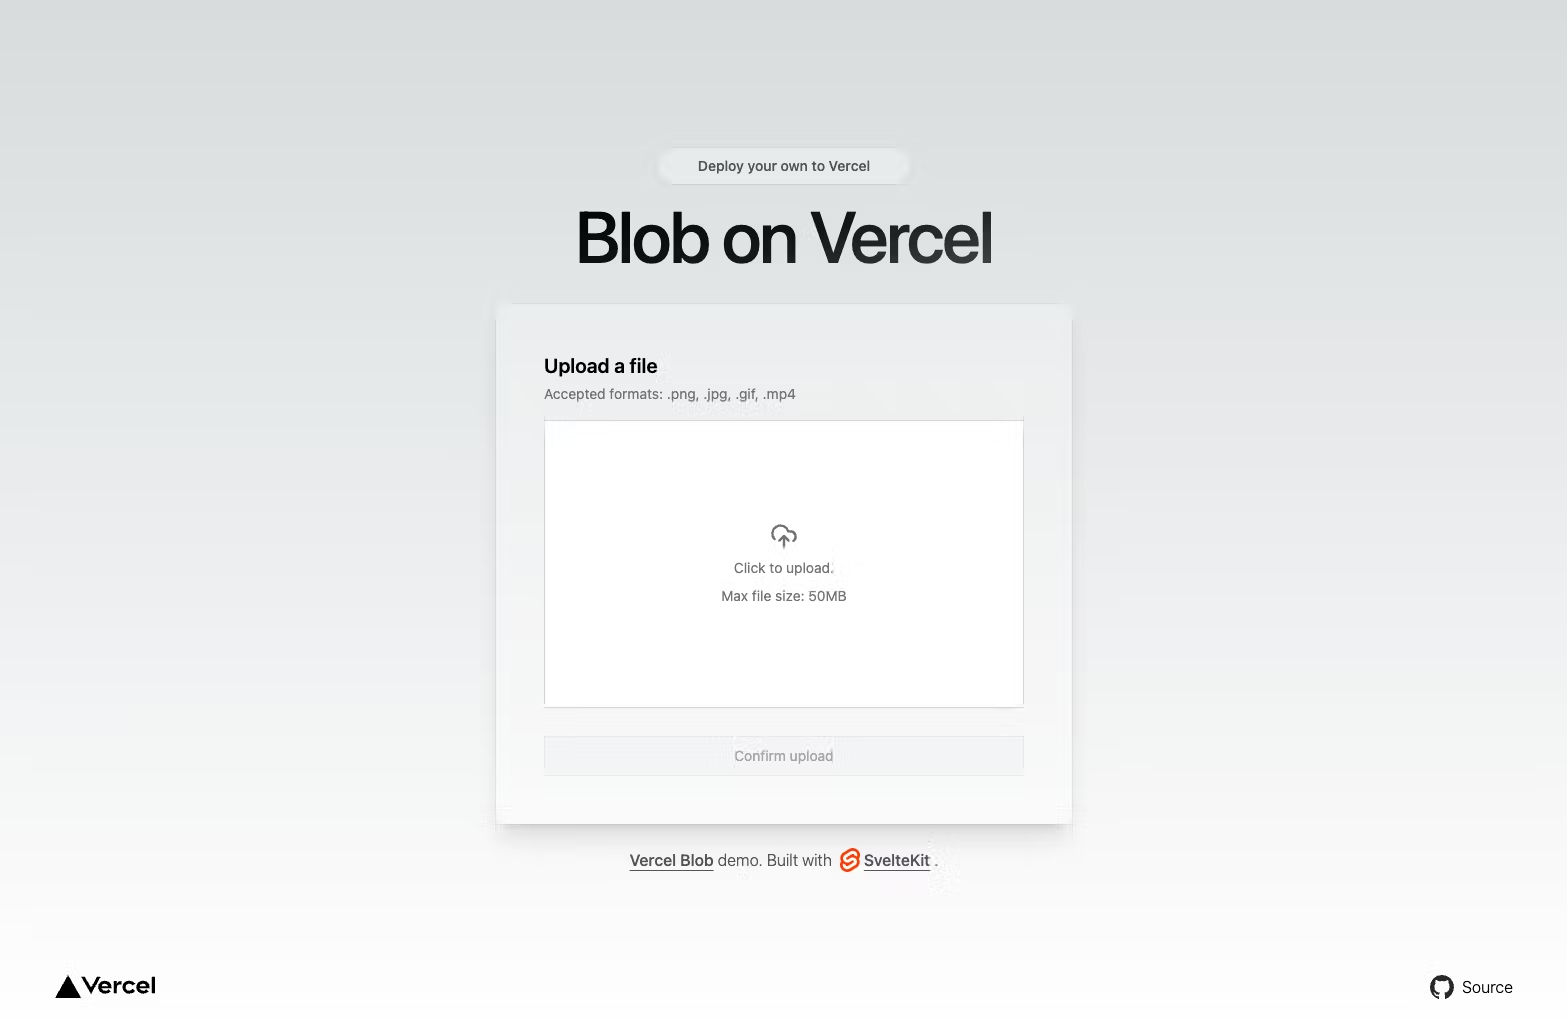
Upload Image
ผมจะยกตัวอย่างให้ดูว่า Frontend ต้องส่งข้อมูลอย่างไรและ Backend รับข้อมูลมาแล้วต้อง Upload อย่างไร โดย Feature ที่ผมจะทำคือ Upload profile image ให้กับน้องวัวแต่ล่ะตัว ซึ่งผมจะแยก API upload นี้ออกมา
- Frontend - Vue.js
<template>
    <input
        id="imageUpload"
        @change="handleFile"
        type="file"
        accept="image/*"
        hidden
    />
    <img
      :src="value"
      @click="chooseImg"
    >
</template>
<script>
    export default {
        methods : {
            chooseImg () {
                let fileUpload = document.getElementById("imageUpload");

                if (fileUpload != null) {
                    fileUpload.click();
                }
            },
            handleFile (e) {
                const files = e.target.files || e.dataTransfer.files;
                if (!files.length)
                    return;
                if(files[0].size <= 1000000){
                    //ส่งค่า File object ออกไปทาง file props
                    this.$emit('file',files[0])
                    //แสดงรูปภาพที่เลือก
                    this.createBase64(files[0]);
                }else{
                    window.alert('ขนาดไฟล์รูปภาพต้องน้อยกว่าหรือเท่ากับ 1 MB.');
                }
            },
            createBase64(fileObj) {
                const reader = new FileReader();
                reader.onload = (e) => {
                    this.value = e.target.result
                };
                reader.readAsDataURL(fileObj);
            },
        },
        props: {
            file : {
                type : Object,
                default : null
            },
        }
    }
</script>
<template>
    <Profile @file="getFile"/>
    <button type="button" @click="upload">Upload</button>
</template>
<script>
import http from '@/constants/api';
import Profile from '@/components/Profile.vue'
  export default {
    data () {
      return {
        file : null,
        id : 2
      }
    },
    methods:{
        getFile(fileObj){
          this.file = fileObj
        },
        upload(){
            if(this.file){
                const formData = new FormData();
                formData.append("file",this.file);
                return http.post(`/upload/${this.id}`,formData);
            }
        }
    },
    components : {
        Profile
    }
  }
</script>
- Backend - Node.js(Express.js) & MongoDB
const expressFileupload = require('express-fileupload');

...

const app = express();
app.use(expressFileupload())

...
const { put,del } = require('@vercel/blob');

const db = require("../models");
const Cow = db.cow;

exports.upload = async (req,res) => {
  const id = req.params.id;

  if (!req.files) {
    return res.status(500).send({ msg: "file is not found" })
  }

  const myFile = req.files.file;
  //อัปโหลดรูปไปยัง Blob
  const blob = await put(myFile.name, myFile.data, {
    contentType : myFile.mimetype,
    access: 'public',
    token : process.env.BLOB_READ_WRITE_TOKEN
  });

  const cow = await Cow.findById(id).exec();

  //ถ้ามีรูปที่เคยอัปโหลดไว้ใน Blob แล้ว เราจะลบรูปที่ไม่ใช้แล้วด้วย
  if(cow.image && cow.image.indexOf('https') >= 0){
    await del(cow.image);
  }

  //นำ URL รูปใหม่ที่ได้จาก Blob มาอัพเดต
  await Cow.updateOne({_id:id},{image:blob.url}).exec();

  res.status(200).send({blob});
}
Blob Store

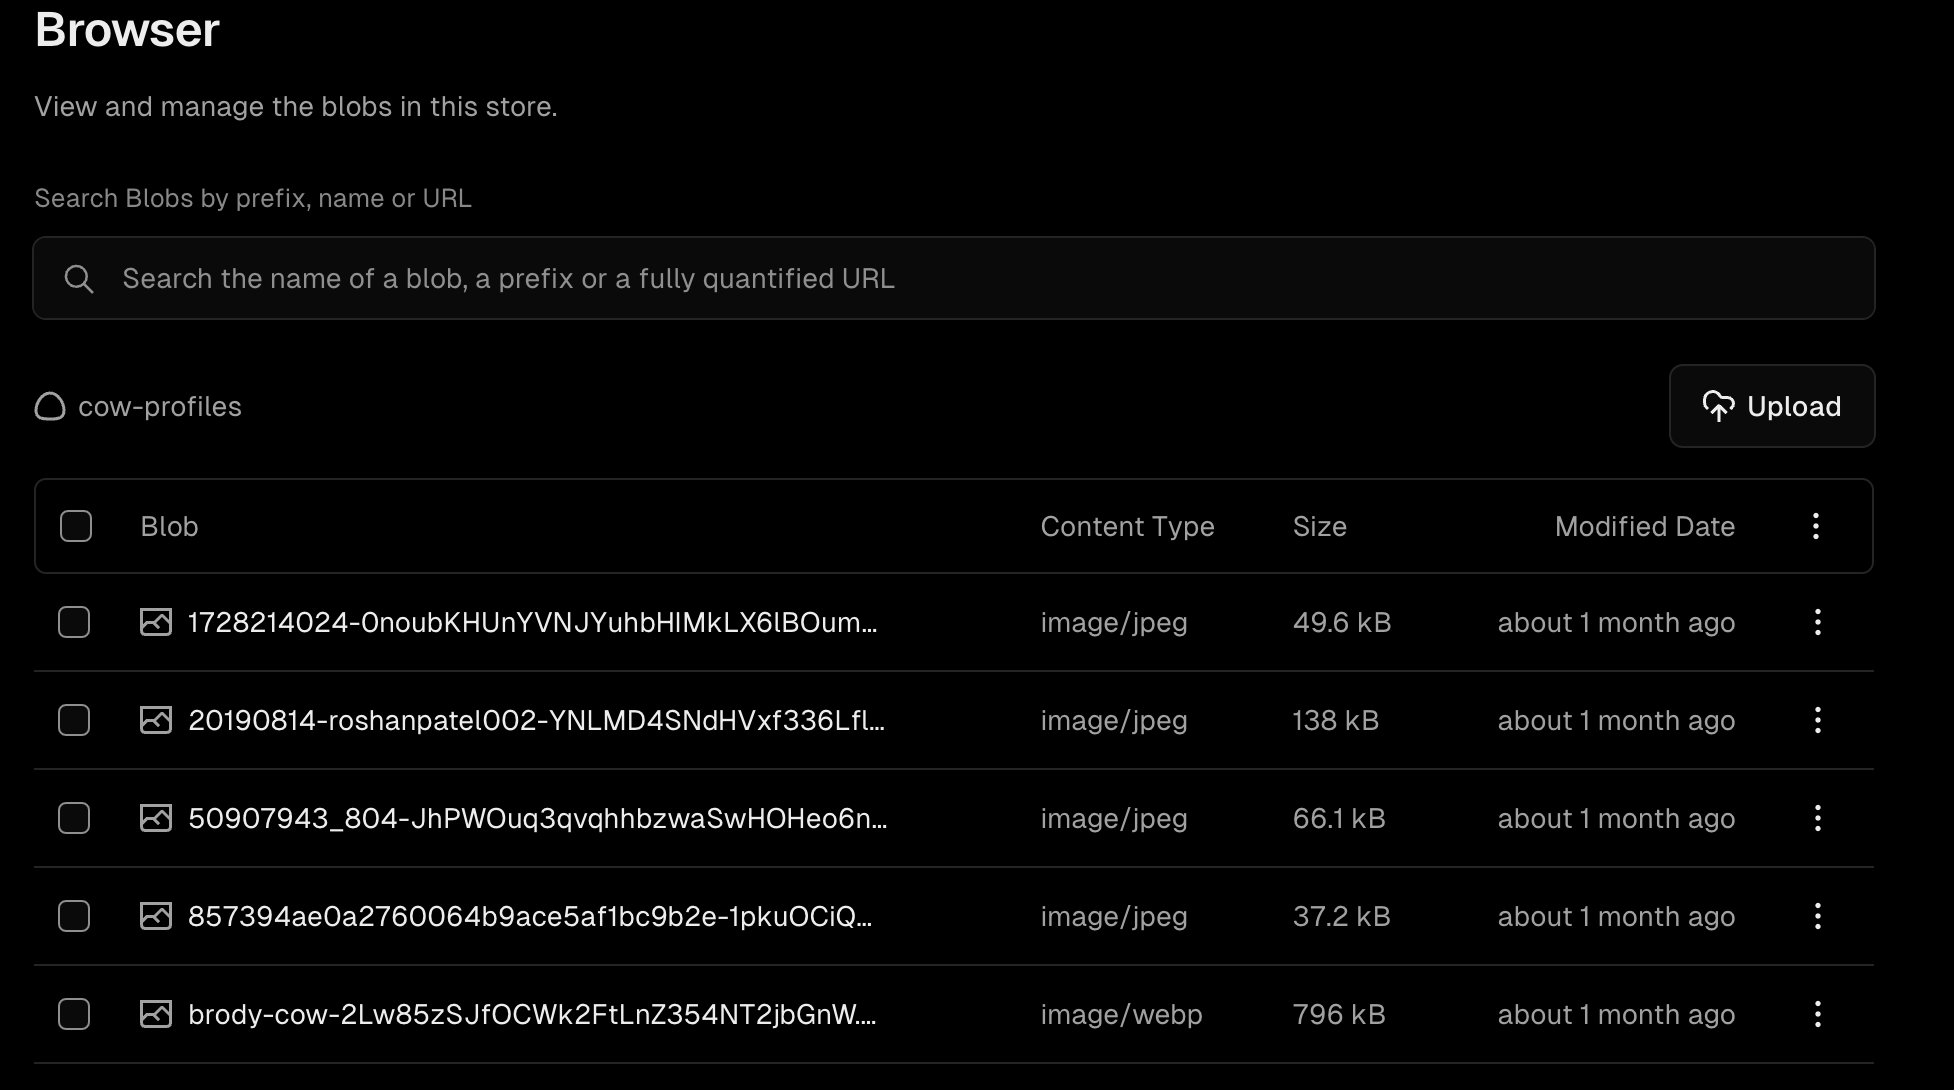
ถ้าอัปโหลดสำเร็จก็จะเห็นรายการรูปภาพแบบนี้

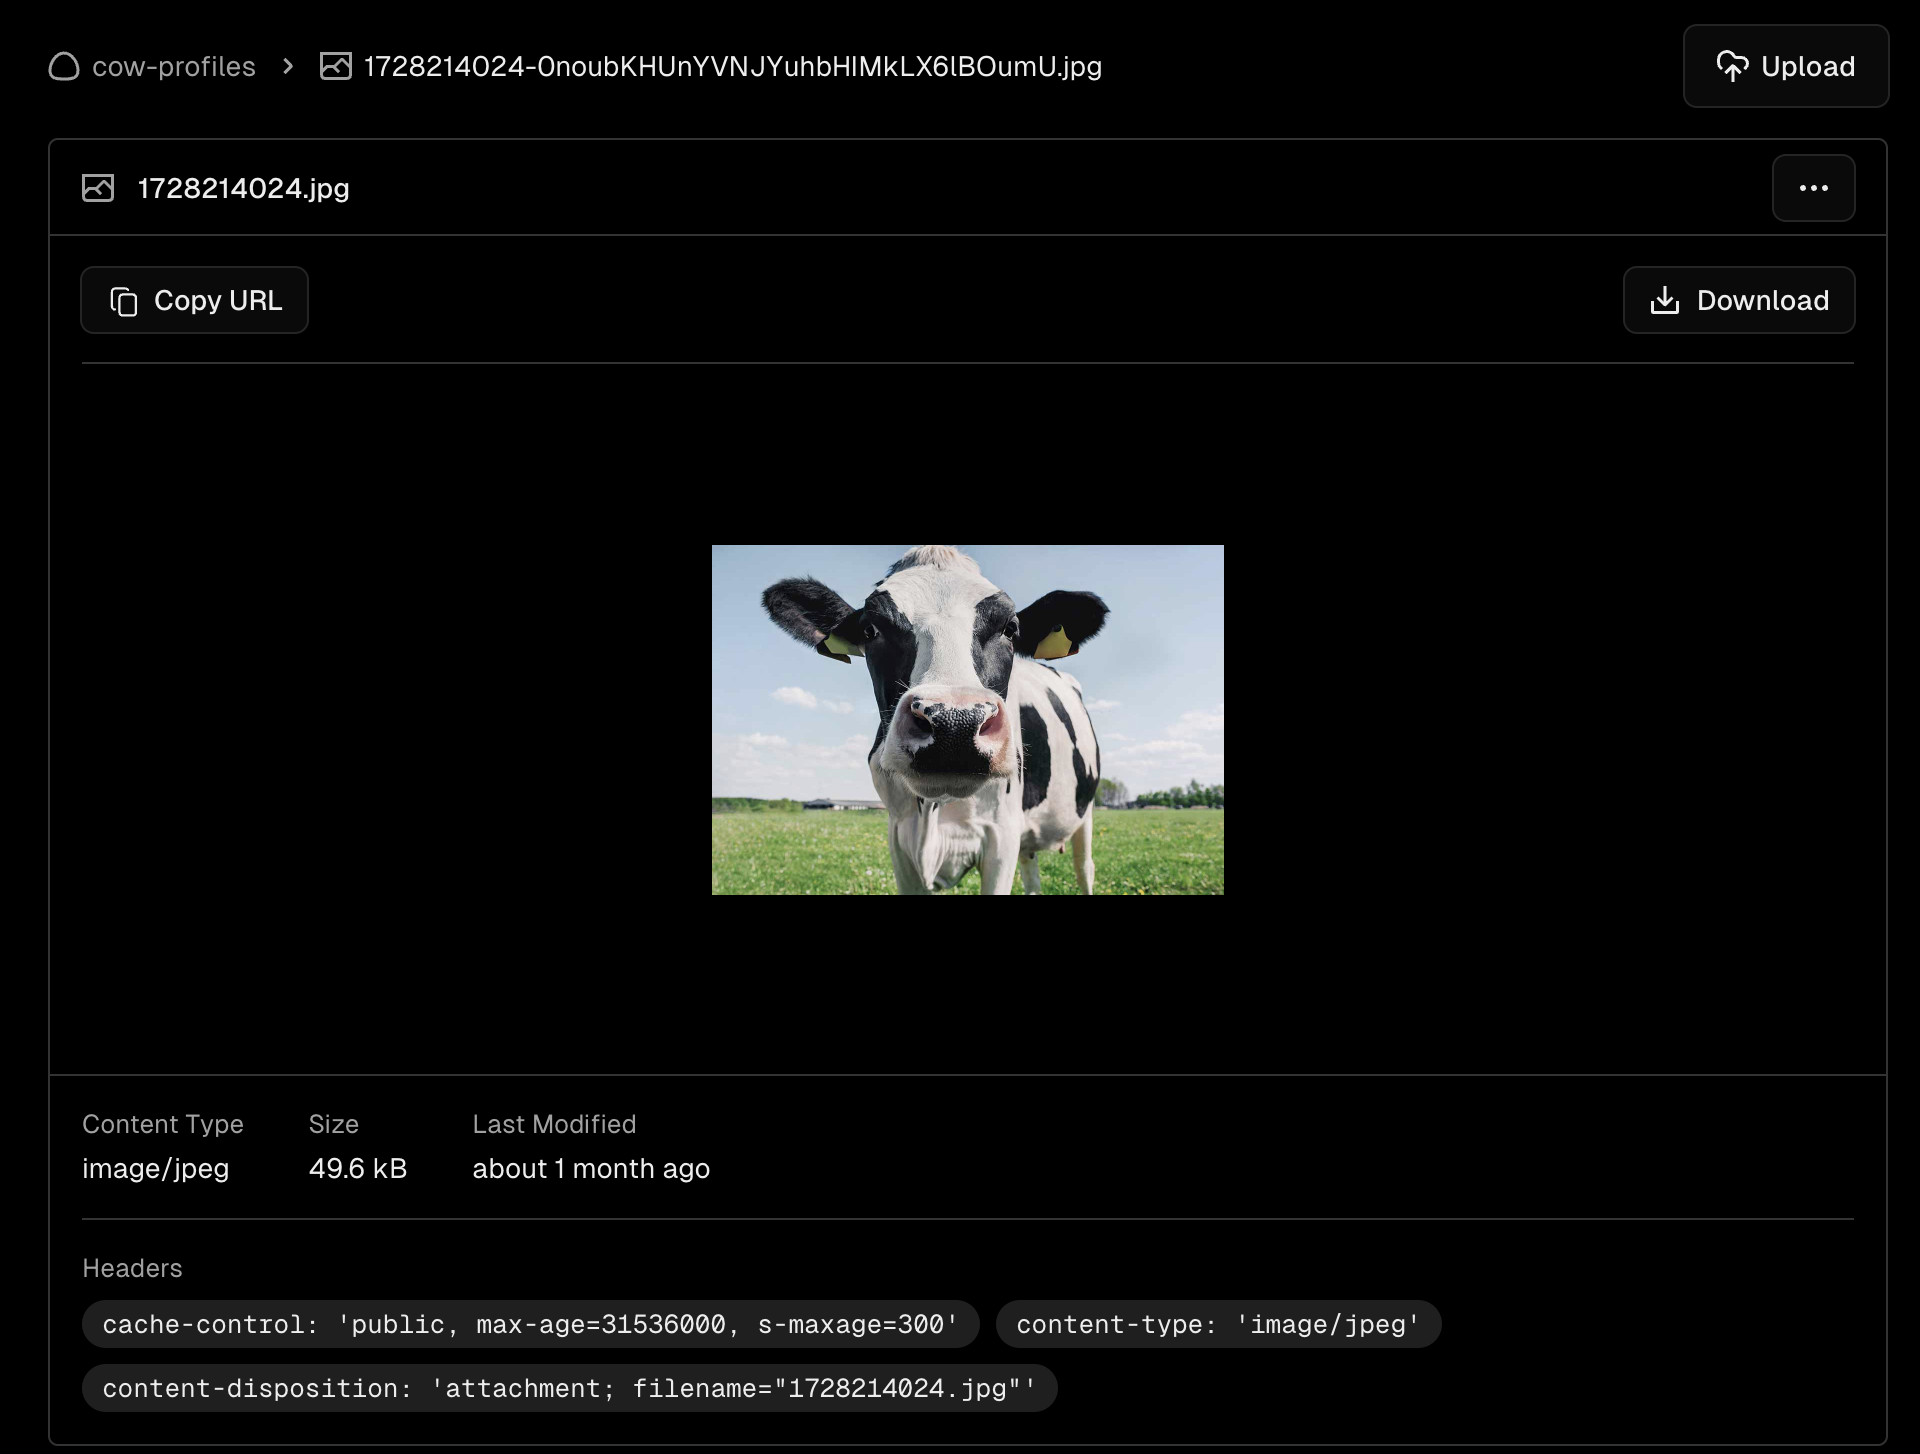
เมื่อกดเข้าไปดูแต่ล่ะรายการต้องแสดงรูปภาพได้แบบนี้
Free version limit


ถ้าเราใช้งานไม่เกินที่กำหนดไว้ต่อเดือน ก็จะยังคงสามารถใช้งานได้ฟรีไปตลอด ซึ่งก็คงจะเหมาะกับโปรเจคเริ่มต้น ใช้กันภายใน Dev environment